Camera Angles and Shots: A Practical Cheat Sheet for AI Video
Choose camera angles and shots for clear AI shorts: framing, height, lens feel and movement, plus an original 9:16 prompt template.
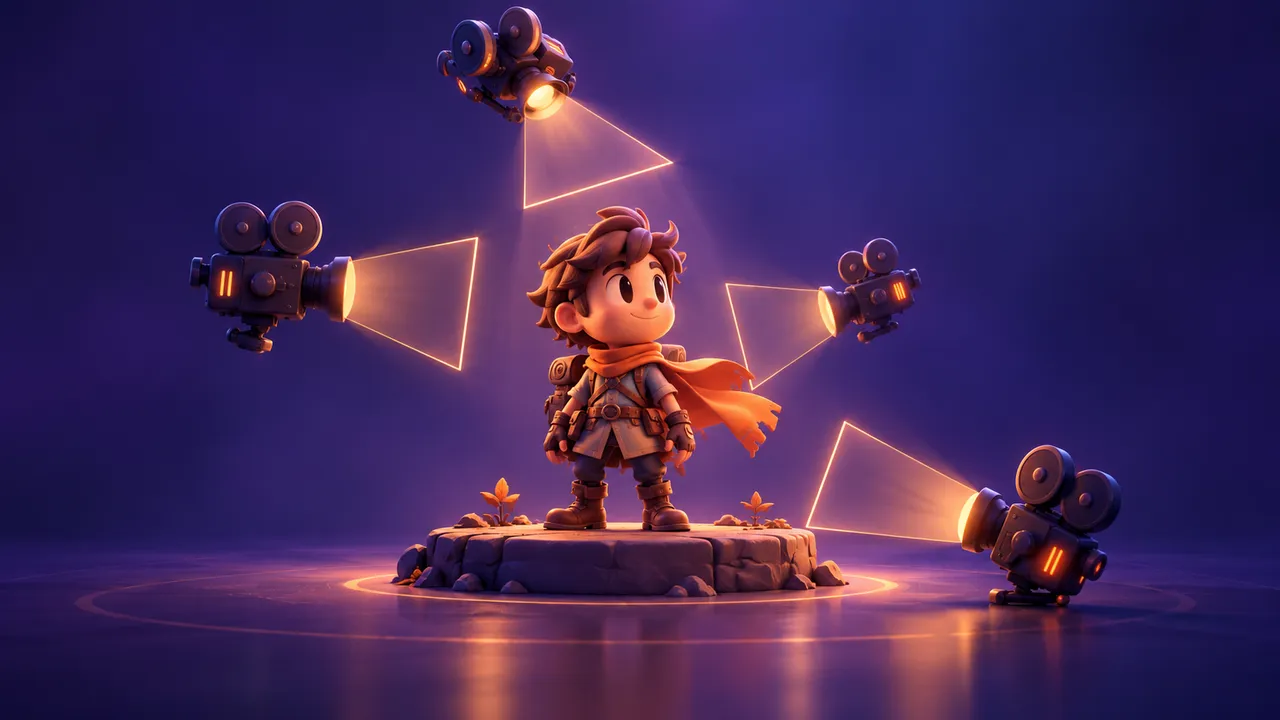
Camera angles and shots tell the viewer what matters before a character says anything. A face can show doubt; a wide view can show how far a lost parcel must travel. You do not need twenty camera terms in every prompt. Choose one clear view that serves one action, then keep it stable long enough to understand.
This guide uses an original story about Tara, a bicycle courier returning a blue lunchbox. Plan in 9:16 for a vertical short. The same decisions work in 16:9 for a wider film, but recompose the picture rather than simply cropping it. For the full production sequence, start with how to make an AI short film.
Separate four decisions before writing a prompt
Do not treat all camera words as synonyms. Angle describes where the camera looks from relative to the subject. Height says where it sits. Shot size says how much of the subject appears. Movement says whether the camera stays still or travels. Lens choice is another decision, not an angle: telephoto describes a narrower view, not a low or high viewpoint.
Good camera angles and shots combine these decisions without contradiction. “Eye-level, medium shot, static camera” is clear. “Close-up full-body overhead selfie tracking zoom” asks for several incompatible views. If you cannot sketch the frame as one rectangle, simplify the instruction before generating.
Write the purpose beside each shot: show the route, reveal the label, or show Tara deciding to turn back. This prevents attractive images that add no information. Our Shot List tool can turn a scene description into planning notes, including framing, action and movement. Review its suggestions yourself; it does not make the finished video.
Angle and camera height: decide how we meet the subject
An eye-level view places the camera near the subject's eye line. It is a useful neutral choice for dialogue and decisions. A low angle looks upward and can emphasize a tall doorway or a determined stance. A high angle looks downward and can reveal a route or make a figure feel small within a space. These are possible readings, not automatic emotional rules.
Height needs its own words. A camera at table height might look horizontally across a lunchbox; one at the same height might tilt upward at Tara. “Camera at lunchbox height, looking straight toward the bicycle wheel” is more useful than “dramatic angle.” Specify the relationship, not just a number that has no scale in the scene.
When planning camera angles and shots, keep the subject recognizable across changes. If Tara moves left to right in one shot, preserve that direction in the next unless you deliberately show her turning. An overhead view can explain geography, but it should not randomly reverse the route.
Shot size: choose the information the audience needs
A wide shot shows a person within a place. Use it to establish the street, the school gate and the distance between them. A medium shot shows enough body for a simple action, such as lifting the box. A close-up isolates the face or another important subject. An extreme close-up isolates a tiny detail, such as the torn corner of a name label.
Use camera angles and shots to control information, not to decorate a sequence. If the label is the clue, it must be large enough to read on a phone. Generate a simple label shape if text rendering is unreliable, then add your own readable text during editing. Do not build the whole mystery around a word that only works on a desktop monitor.
For emotion, try a close-up with one visible change: Tara's tense mouth relaxes after she spots the owner. Do not ask for six emotions in three seconds. Leave room around the eyes and chin, and check whether subtitles would cover the expression.
Lens feel and movement: avoid misleading instructions
A telephoto-like composition can isolate a face against a narrow slice of background. Apparent perspective also depends on camera position; adding a lens word alone does not guarantee an exact optical result from a video model. Treat focal-length language as direction to test, not a physical camera specification the model must obey.
For speed, try a tracking shot that follows Tara alongside the bicycle, with restrained background motion blur. Keep the face and the important prop legible. Heavy blur may hide continuity errors while also hiding the story. A static shot with a cyclist crossing the frame can communicate speed more clearly than a complicated orbit.
Your camera angles and shots should each have one main movement. Avoid combining a fast push-in, a full circle and a sudden tilt in the same short beat. If two moves reveal two different things, split them into two shots and plan the cut.
Three useful viewpoints, without viral promises
These camera angles and shots are worth testing in short-form work, but none guarantees reach or retention. Choose them because the viewer gains a useful relationship to the action.
Over-the-shoulder: place a small part of Tara's shoulder in the foreground and show the lunchbox owner beyond it. Keep the foreground shoulder from blocking the clue. This view can connect two people without forcing both faces into one crowded frame.
Selfie viewpoint: imagine a camera held at arm's length facing the character. It can make a direct address feel immediate. State who holds the camera and whether the hand should be visible. Do not also request a distant full-body shot; that would need another camera position.
Chest-mounted viewpoint: the camera faces outward from the character's chest. Hands and the bicycle handlebar may appear near the lower edge, but the character's own face normally will not. Use it for delivering the box or navigating a gate, not for a facial reaction.
Copyable camera angles and shots cheat sheet
Choose one entry per field. Keep the same character description and location across related shots. The filled example is a planning prompt, not a guarantee of precise model output.
CAMERA ANGLES AND SHOTS — SHOT CARD
Story purpose: [WHAT NEW INFORMATION APPEARS]
Format: 9:16 vertical
Subject: [FIXED CHARACTER DESCRIPTION]
Location: [ONE PLACE, ONE TIME OF DAY]
Angle: [EYE LEVEL / LOW / HIGH]
Height: [EYE / CHEST / TABLE / GROUND]
Size: [WIDE / MEDIUM / CLOSE-UP / EXTREME CLOSE-UP]
Viewpoint: [OBSERVER / OVER-THE-SHOULDER / SELFIE / CHEST-MOUNTED]
Lens feel: [NATURAL / WIDE / TELEPHOTO-LIKE]
Movement: [STATIC / ONE SLOW TRACK / ONE PUSH-IN]
Action: [ONE VISIBLE ACTION]
Continuity: [PROP, SCREEN DIRECTION, LIGHT]

FILLED EXAMPLE
Purpose: show Tara finding the owner's name label.
Format: 9:16 vertical, soft illustrated animation.
Subject: Tara, short dark braid, orange jacket, blue bicycle.
Location: school gate, soft morning light.
Angle and height: high angle, camera just above the lunchbox.
Size and viewpoint: close-up, observer view.
Lens feel and movement: natural perspective, static camera.
Action: Tara lifts one corner of the blue lunchbox lid.
Continuity: right hand enters from screen left; bicycle stays behind her.
Keep the label area clear for readable text added in editing.
Test a short sequence before generating a whole film
Build three rough frames: a wide view of the gate, the lunchbox detail, and Tara's reaction. Review them at phone size. Can a viewer explain what she found without reading your notes? If not, change the framing before paying for more generations.
For camera angles and shots that feel disconnected, compare the last frame of one clip with the first of the next. Check hand position, prop color, light direction and the character's gaze. A matching action usually matters more than using a different angle on every cut.
Write a minimal prompt first, then add only the missing instruction. Our Video Prompt Generator can expand an idea into a written video prompt. Remove any suggested camera move that contradicts the shot card. Generate in your chosen video application, then judge the actual result rather than the sophistication of the wording.
Try it free: Shot List tool — turn a scene into a reviewable plan for camera angles and shots. Copy the notes into your workflow; no sign-up is needed.
FAQ
How many camera angles and shots should a short use?
Use only enough to explain the action. Three to five shots can be a useful starting plan for a fifteen-second segment, but a clear single shot may work better. Timing should follow the story, not a quota.
Is telephoto an angle?
No. It is a lens category. Describe the viewing angle separately, then state the desired lens feel. AI output still needs visual checking because a focal-length word is not a calibrated optical setting.
Which view is best for emotion?
Try a close-up at eye level, with one readable expression change and a quiet background. If the environment explains the emotion, establish it first in a wider view. Context decides the best frame.
Can I reuse a vertical plan in a horizontal film?
Yes, but rebuild the composition for 16:9. Check where faces, hands and important props sit. Do not stretch the image, and do not assume a crop will preserve the same story information.